The Sound of a $10,000 Mistake
You’re laying in bed at 2 AM in the middle of a humid July, and you hear it. Drip. Drip. Plop. It’s not the rhythmic sound of a leaky faucet; it’s the sound of your master bedroom ceiling losing its structural integrity. By the time that water manifests as a yellow stain on your drywall, your attic is already a swamp. As a guy who’s spent three decades crawling through blown-in fiberglass insulation that’s 140 degrees, I can tell you: most of these disasters are completely avoidable with one simple edit to your drain pan setup. Most AC installation crews are in such a hurry to get off the roof or out of the attic that they skip the physics of condensate management. They focus on the ‘juice’—the refrigerant—and forget that an air conditioner is, first and foremost, a massive dehumidifier.
“The removal of latent heat through condensation is a primary function of the cooling cycle, and failure to manage this byproduct results in catastrophic building envelope failure.” – ASHRAE Standard 62.1
The Anatomy of an Attic Disaster
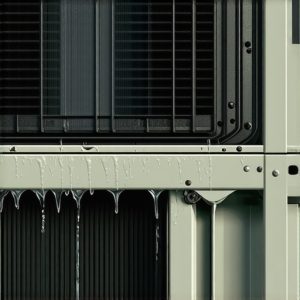
When we talk about furnace repair or a new AC installation, we usually focus on the compressor or the heat exchanger. But in an attic-mounted horizontal system, the evaporator coil is sitting in a primary drain pan. This coil drops below the dew point of the air moving across it. As that warm, humid air hits those cold fins, the water vapor turns into liquid. In a high-humidity environment like the Gulf Coast or the Eastern Seaboard, a 5-ton system can pull five to ten gallons of water out of the air every single day. That water is supposed to flow into the primary drain, through a P-trap, and out to a floor drain or the yard. The problem? Algae. Dust. Skin cells. They create a ‘slug’ of slime that chokes that 3/4-inch PVC pipe. When that happens, the water backs up. If your heating service tech didn’t set up your secondary protection correctly, that water overflows the internal pan and ends up in your insulation.
The Narrative: The ‘Sales Tech’ and the Clogged Trap
I remember following a ‘Sales Tech’—those guys who wear white shirts and carry iPads but couldn’t tell a capacitor from a contactor—out to a house in a swanky suburb. He’d told this homeowner that her entire evaporator coil was ‘compromised’ and ‘leaking through the casing,’ quoting her $14,500 for a full AC installation replacement. I crawled up there and saw the ‘leak.’ The primary drain was bone dry. The secondary pan was overflowing. The issue wasn’t a broken coil; it was a $2 P-trap that hadn’t been cleaned in five years and a float switch that was wired incorrectly. I spent ten minutes blowing out the line with a CO2 popper, applied some Pookie to a small air leak in the plenum, and the system ran perfectly. Total cost of parts? About twenty bucks. That’s why I hate ‘Sales Techs.’ They sell equipment when they should be solving physics problems.
The Thermodynamic Zoom: Why Your Trap is Failing
Most tin knockers and installers put the P-trap in, but they don’t understand the static pressure involved. Your blower motor is creating a vacuum (negative pressure) when it sucks air through the coil. If that P-trap is too shallow, the suction from the fan will actually hold the water in the pan and prevent it from draining. We call this ‘air-locking.’ The water builds up, the fan stops, and the water surges forward all at once, often overshooting the drain and hitting the floor. The ‘simple edit’ involves two things: deepening the trap and installing a secondary float switch—specifically an SS2—directly into the auxiliary port of the primary drain pan. This switch is a simple break-on-rise mechanism. If the water rises even a quarter-inch because the main line is clogged, it cuts the 24V signal to the ‘Sparky’s’ thermostat wire. The system shuts down *before* the water hits the floor. No cooling is a nuisance; a collapsed ceiling is a tragedy.
“Condensate disposal systems shall be provided with a secondary drain or an automatic shut-off to prevent structural damage.” – ACCA Manual J / IRC Section M1411.3
The Simple Edit: The Float Switch and the Secondary Line
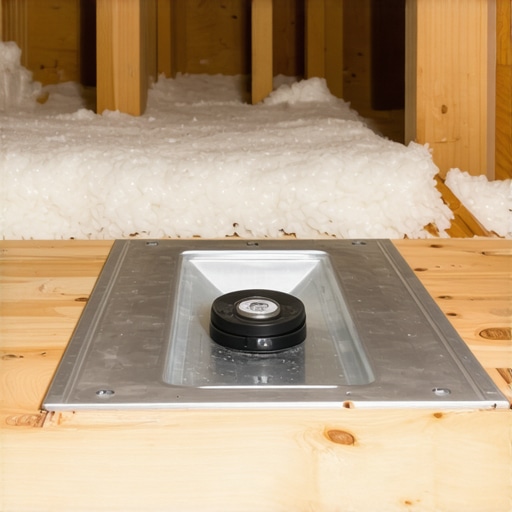
If you look at your unit and see only one PVC pipe coming out of it, you’re in danger. A proper AC installation needs three levels of defense. First, the primary line with a clean-out port. Second, an auxiliary float switch. Third, an emergency secondary pan (the big metal tray the unit sits in) with its own float switch. The ‘simple edit’ I recommend to everyone is to bypass the old-school secondary drain line—which usually just pokes out over a window—and replace it with a dual-float switch configuration. We wire the primary switch to the ‘Y’ wire and the secondary pan switch to the ‘R’ wire. This ensures that even if a ‘Sales Tech’ messed up the wiring, the unit *will* stop. For those with a mini-split, this is even more critical as their internal pumps are notorious for failing when they get ‘sluggy.’ A little bit of gas and a clear line are the difference between a cool house and a mold remediation claim.
The Math: Why This Save Matters
Let’s talk numbers. A professional heating service or AC maintenance call might cost you $150 to $300 to have a tech come out, blow out the lines, and verify the float switches. A new ceiling, including paint, texture, and mold remediation, starts at $5,000 and goes up. If you’re doing a new AC installation, demanding a ‘Safe-T-Switch’ on the primary and a ‘Wet Switch’ in the emergency pan adds maybe $150 to the job. It’s the cheapest insurance policy you’ll ever buy. Don’t let a ‘Sales Tech’ convince you that a little water in the pan means the unit is ‘rotted.’ It usually just means the physics of the drain are being ignored. Keep your suction line ‘beer can cold’ and your drain lines clear, and you’ll survive the summer without a flood.
[image placeholder]