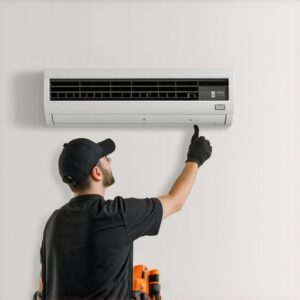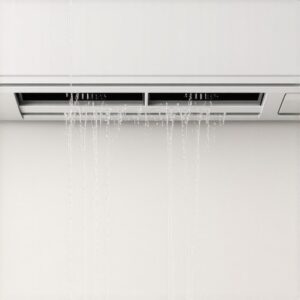
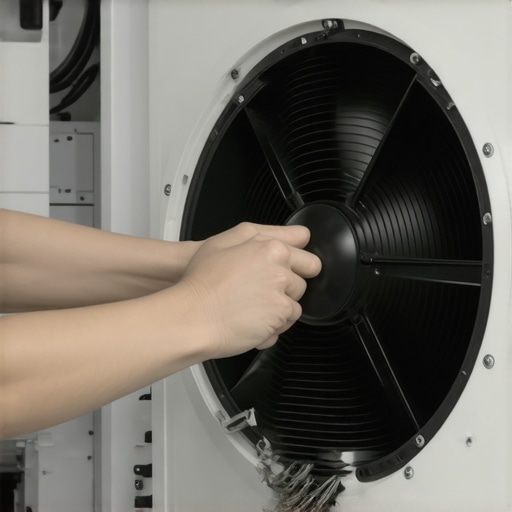
You hear it before you feel it. That rhythmic, off-kilter thumping coming from the wall-mounted unit in your bedroom. It sounds like a helicopter landing three miles away. Most homeowners ignore it until the ‘Gas’ (refrigerant) stops doing its job and the room starts feeling like a humid locker room. I’ve spent thirty years dragging my tool bag through crawlspaces and over scorched shingles, and if there is one thing I’ve learned, it’s that airflow is the pulse of any HVAC system. When that pulse weakens, the system dies. I recently followed a ‘Sales Tech’—one of those guys who wears a shirt too clean to have ever touched a condenser—who quoted a homeowner $6,500 for a full AC installation because her mini-split was ‘leaking water and had a failing motor.’ I walked in, pulled the plastic shroud, and showed her the truth: two pounds of black bio-growth and dust caked onto the fan wheel. It wasn’t a mechanical failure; it was a choked airway. A $200 deep clean saved her $6,300. That’s the difference between a technician and a salesman.
“Maintenance shall include the inspection and cleaning of fans, fan housings, and fan motors to ensure proper airflow and heat transfer.” – ASHRAE Standard 62.1-2019
The Forensic Anatomy of a Mini-Split Blower
Unlike a traditional furnace repair where you have a massive centrifugal blower tucked away in a basement, a mini-split uses a cross-flow fan wheel. This long, cylindrical drum is designed to be whisper-quiet, but its design is its Achilles’ heel. The blades are small and tightly spaced. In a humid climate like the South, your evaporator coil is constantly dripping with condensate. This is how we remove latent heat—the energy hidden in humidity. When the unit stops its cycle, that coil stays damp. Dust enters the return, sticks to the moisture on the fan blades, and creates a biological ‘pookie’ that breeds faster than a Sparky running toward a free lunch. Once that film forms, the aerodynamic profile of the blade is ruined. You lose the ‘suction line’ temperature drop because the air can’t pass through the coil efficiently. You aren’t just losing cooling; you are paying to circulate mold spores.
The Thermodynamics of the Fouled Wheel
Let’s talk physics for a second. We use the term ‘Sensible Heat’ for the temperature you see on the thermostat, but ‘Latent Heat’ is the real enemy in places like Houston or Miami. When your fan wheel is dirty, the CFM (Cubic Feet per Minute) drops significantly. Because the airflow is sluggish, the refrigerant in the evaporator coil gets too cold—sometimes dropping below freezing. This can lead to the coil icing over, which is often misdiagnosed as a leak by guys looking to sell you a new unit. You don’t need a new AC installation; you need to restore the Reynolds number of the air passing over those blades. [image_placeholder_1] Without proper velocity, the air doesn’t ‘scrub’ the heat off the fins. You end up short-cycling, which hammers your compressor and spikes your electric bill.
“The most expensive equipment in the world cannot overcome a bad duct system—or in the case of ductless, a fouled delivery mechanism.” – Modified ACCA Manual SPS Axiom
Step-by-Step: The Professional Cleaning Protocol
If you’re going to do this, do it right. Don’t just spray some canned air in there and call it a day. First, kill the power at the disconnect. You don’t want a 220-volt surprise while your hands are in the chassis. Second, remove the primary filters and the plastic housing. You’ll likely find hidden screws behind small plastic tabs—manufacturers love to hide those. Once the ‘guts’ are exposed, you’ll see the evaporator coil and, tucked behind it, the long blower wheel. I recommend using a specialized mini-split bib kit. This is a plastic funnel that attaches to the wall and drains into a five-gallon bucket. Use a pH-neutral, non-rinse coil cleaner. Spray the wheel liberally and let it sit. You’ll see the ‘mud’ start to liquefy. Use a small, long-bristled brush to manually agitate the blades. Rotate the wheel by hand—slowly. If you use a pressure sprayer, be careful. I’ve seen rookies bend the aluminum fins on the evaporator, and then you’re looking at a tedious job with a fin comb or a total coil replacement. Once the water runs clear, dry the wheel with a clean rag. When you kick the power back on, keep the shroud off for a minute to ensure the wheel is balanced and the ‘thumping’ has vanished.
When to Call for Heating Service or Pro Repair
Sometimes cleaning isn’t enough. If you see a ‘crack’ in the blower wheel or if the motor bearings are screaming like a banshee, a cleaning won’t fix the mechanical fatigue. This is where you have to decide: Repair or Replace? A blower motor replacement on a mini-split can be labor-intensive, often requiring the entire evaporator assembly to be lifted. If your unit is over ten years old and running on R-410A, you need to be aware of the 2025 regulatory shifts. We are moving toward A2L refrigerants like R-454B. Buying a cheap ‘gas’ fill-up today is a band-aid on a gunshot wound. However, if the compressor is solid and the coil is clean, a simple fan wheel maintenance can add five years to the life of the system. Don’t let a Tin Knocker convince you that a dirty fan means a dead furnace. Real HVAC work is about precision, not a sales pitch. Keep your airflow high, your static pressure low, and your coils clean. That’s how you beat the heat without breaking the bank.